Friday, December 26, 2014

Kumquat Refrigerator Pie

Merry Christmas! Yes, it is December 26th, but for Catholics the Christmas season starts the night of Christmas Eve, and then continues until the Baptism of the Lord, which is traditionally January 13th, but in the U.S. is moved to the Sunday after January 6th. So Christmas is not over, indeed it has just begun! As such, you will still see me posting Christmas themed things, like this recipe for Kumquat Refrigerator Pie.

As some of you may know, kumquats are a traditional Christmas food at my house. It all started with my dad inventing Kumquat Christmas Drink back when we were kids and has grown into a myriad of kumquat recipes, including the Kumquat Marmalade we sometimes make with the leftovers. Besides the Christmas drink, this pie was the first kumquat recipe we made, as it was printed on the container of kumquats we bought. A Christmas celebration just doesn't seem complete without a slice of Kumquat Pie!


Kumquat Refrigerator Pie

Ingredients: 

1 8oz tub whipped topping
1 cup (or a little more) kumquats - seeded and pureed
1 can sweetened condensed milk
1/2 cup lemon or lime juice


Directions:

Get a 9 inch pie crust ready to go. If using a traditional pie crust, pre-bake it. Graham cracker crusts work well too.

Beat condensed milk and whipped topping until thickened. Add lemon or lime juice and beat some more. Fold in the kumquats.

Pour in the pie shell.

Chill several hours.

Garnish with thin slices of kumquats.

Enjoy!

Wednesday, December 24, 2014

Wednesday, December 10, 2014

Mexican Sweets for St. Juan Diego

Yesterday was the feast of St. Juan Diego, whom my 4 year old son proclaimed as his patron saint a couple years ago. As I  have a Mexican heritage, this feast as well Our Lady of Guadalupe on December 12th is special to us that way as well. I like to think that my ancestors came into the Catholic Church through Our Lady. Of course both of these days are a great time to eat some delicious Mexican food!

We had tostadas again this year, and they were delicious! I do have some new Mexican recipes for you this year though. We also watched Juan Diego: Messenger of Guadalupe. CCC of America has lots of great saint movies for kids.

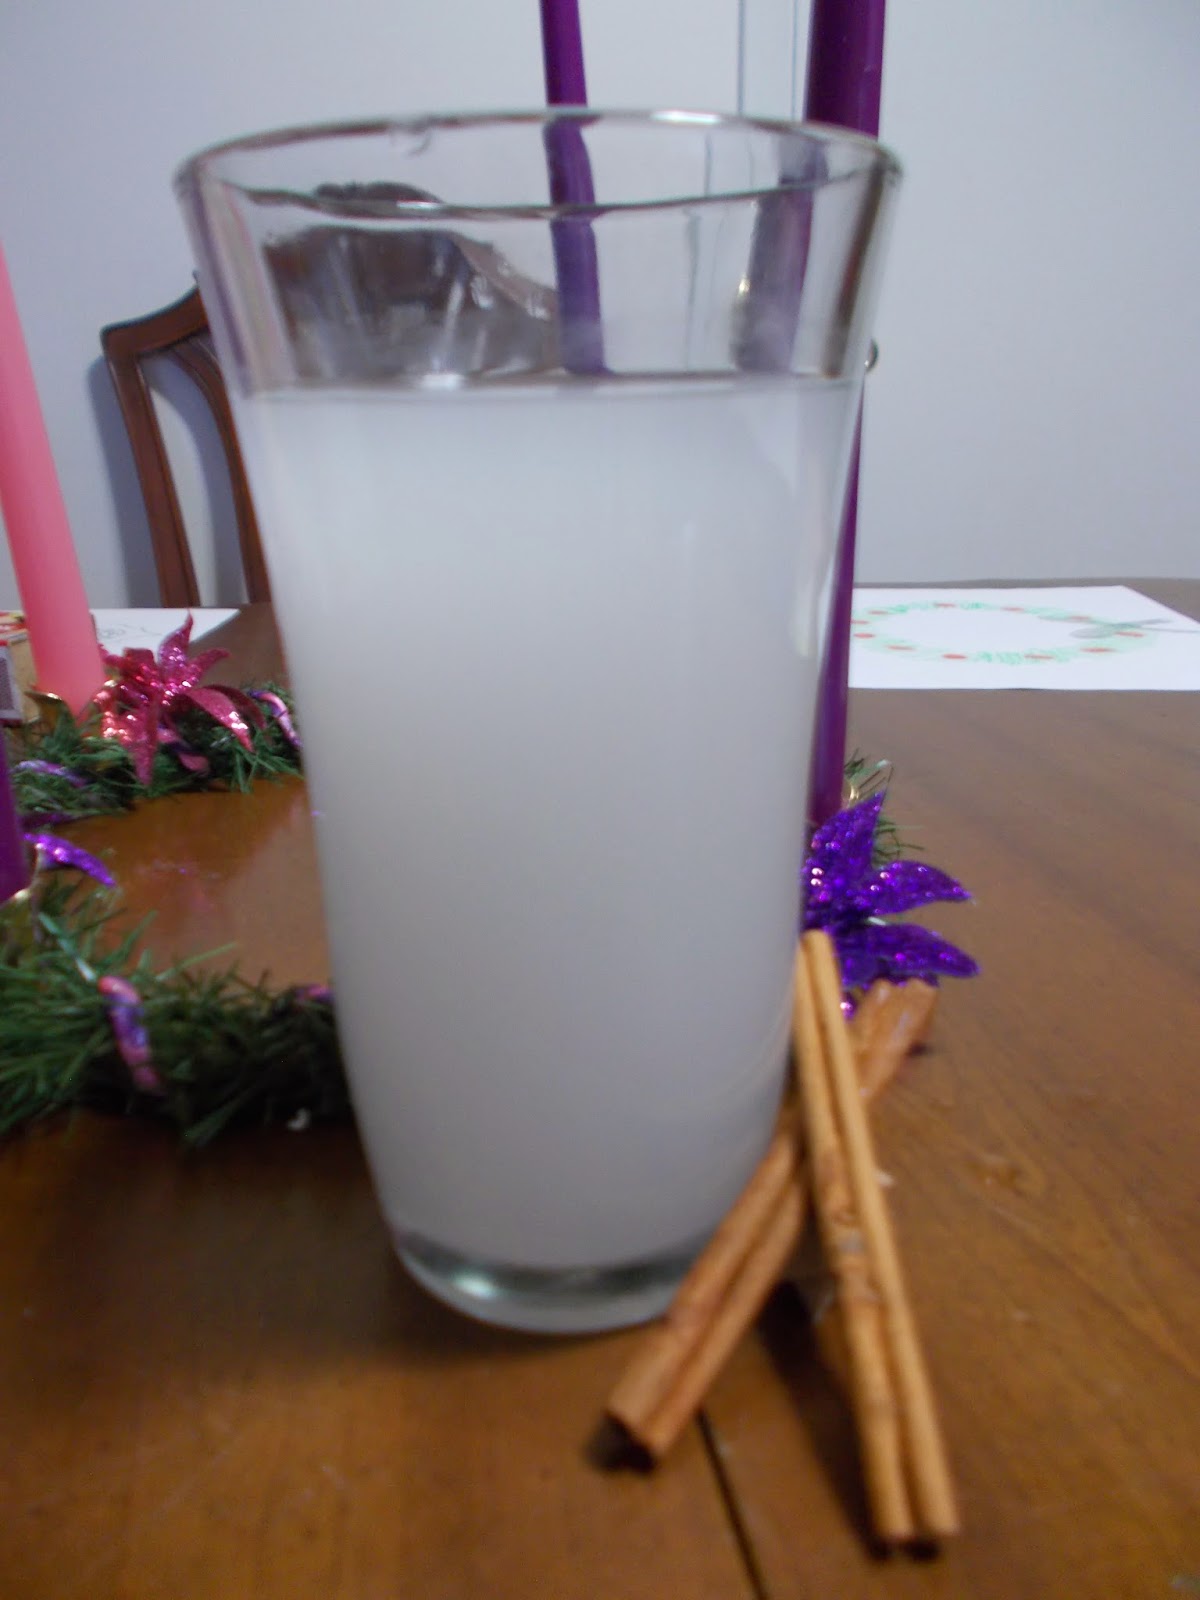
The additions to our Mexican feast this year were sweet ones. We made a refreshing rice and cinnamon drink called horchata as well as some Mexican chocolate sundaes with cinnamon sugar tortilla crisps, yum! Since we already had a pan of oil on the stove for making tostada shells, making the tortilla crisps for the sundaes wasn't too much of an extra step. The horchata does have to be started the night before, but it is really so easy to make.

Horchata

1 cup uncooked rice
2 cups water
2 cinnamon sticks - do not use ground
1/2 cup sugar
Water

Place 1 cup rice in 2 cups water and add the cinnamon sticks. Place in the refrigerator overnight.

Next day, remove the cinnamon and pour the rice/water mixture into the blender and process until very fine. Place back int he refrigerator for a couple hours. Strain through cheese cloth and add 2 quarts of water and the sugar.

Enjoy!

Mexican Chocolate Sundaes

Mexican Chocolate Ganache

1 disc Mexican chocolate, chopped
1 8oz container heavy cream

Bring the cream to a boil over medium heat. Add in the chopped chocolate and stir until melted. Take off the heat and let cool.

Cinnamon Sugar Tortilla Crisps

Flour tortillas
oil for frying
cinnamon sugar

Cut the tortillas into quarters and fry in the hot oil until golden brown. Remove to a plate lined with paper towels.
While they are still hot, sprinkle with cinnamon sugar. (my husband made a nifty cinnamon sugar shaker by drilling holes in a mason jar lid!)

  - Serve the cinnamon sugar tortilla crisps and Mexican chocolate ganache over vanilla ice cream. Enjoy!

This post is linked up on the Equipping Catholic Families 2014 Saints Linkup! Check it out!


Wednesday, November 26, 2014

Making an Advent Wreath


An Advent wreath is a wonderful tradition, and growing up my family always had one. I probably thought that every family lit an Advent wreath in preparation for Christmas! We had it on our dining room table since we always lit it at dinner. Dinner is a great time for the family to do their Advent prayers and reflections since everybody is already together. I like to stick with what I know; I prefer my Advent wreath to be a circle, have taper candles, and be on my dining room table

I used to have a little Advent wreath I made out of items from the dollar store. I had four taper candle holders surrounded by four mini wreaths which I pushed together to make it look like one big wreath. If I couldn't find Advent candles I'd paint white ones with melted crayons. (Hint: If you're looking for Advent candles try craft stores like JoAnn Fabrics or Hobby Lobby!) However, last year my wonderful husband burnt that one down. I noticed that the candles were getting low, so I blew them out. He came around later and decided he wanted to light them. We are now down one Advent wreath and one bookshelf! We are thankful we caught it in time, it could have been much worse! We may have lost an Advent wreath, but we gained a family story. 

The good thing about the great Advent fire of '13 is that now I get to craft a new Advent wreath, which is something I've kind of been wanting to do. I started with a basic plain Advent wreath. 

From the craft store I got:

pink and purple glitter poinsettia picks
pink and purple ribbon
faux pine garland


First I wrapped the wreath with the fake greenery. I found that the garland was too big and thick to wrap around my wreath, so I cut off individual fronds and wrapped those around. It took me about eight in between each candle holder. No glue necessary, the garland holds in place all by itself!

Next I twisted the pink and purple ribbons together and wrapped them around the wreath. Once again, no glue necessary, I just tied it to the wreath at the beginning and end. 


Now we need some glue to put the flowers by each candle holder. I tried cutting off the stem of the pick, but there was a metal wire in it which made that difficult. Luckily it wasn't that hard to just pull the flower part off of the stem! I used a hot glue gun to affix each flower to the wreath.


And voila! A new Advent wreath to light as you pray and reflect to prepare for the coming of Jesus! A new candle is lit each Sunday of Advent, with the pink one being lit on the third Sunday. Just keep an eye on how low those candles get! 


Wednesday, November 5, 2014

Food for the Soul

November is one of my favorite months. Yes, most of the brightly colored autumn leaves have fallen to the ground leaving the trees bare and it can get cold and gray; but there is a certain quiet, intangible beauty in those bare trees against the gray sky that I can't help but admire. I feel that it kind of goes along with the Catholic Church remembering the dead this month. Of course November 2nd is All Souls Day, but the whole month is dedicated to remembering those who have died and praying for the souls in purgatory. On the surface it can seem morbid or sad, and of course feeling sorrow over those we have lost is natural, but by praying for the dead not only are we are helping them to reach the glory that is heaven, but it also serves to remind us that we believe that there is life after death, that Christ has given us victory over the grave; and that my friends is a beautiful thing.

We made a special All Souls meal this year in remembrance of some family and close friends who have passed away in a nod to the Mexican Dio de los Muertos tradition of placing a loved one's favorite food on their grave or on an altar. We are blessed to have some of the culinary traditions of those loved ones written down, which helped make this special meal possible. Food can do so much to connect us; not only to the people around us when we are enjoying the meal, but to those we can't be with and to our past. If you have a favorite family recipe that isn't written down or you don't know how to make, don't let it get lost! Find whoever cooks it now and have them write it down or teach you how to make it!

The main dish was french fried shrimp, cited in my trusty family cookbook as the birthday favorite of my Uncle Matt who was killed in Iraq in 2009. For dessert we had a delicious chocolate pie made from the recipe of a dear family friend named Beverly who was a home economics teacher. A cookbook of her favorite recipes was made after she passed away from ovarian cancer in 2008. I have featured a couple of other recipes from her before; broccoli salad and pineapple boats. The plan was to enjoy the food with a glass of red wine as a priest friend of ours, Fr. Will, who passed away after a battle with cancer this September, was known to enjoy one glass of red wine with a meal every day. However with my husband on some medications from a recent medical procedure and me nursing the new baby, we decided that alcohol was not the best idea at the moment. Another time!

 Using food and other traditions to remember loved ones is a wonderful thing, however as I was thinking about writing this post I felt compelled to mention that this is not what we are doing when we celebrate the Eucharist at mass. We are not just eating some bread and drinking some wine while we think about what Jesus did for us a long time ago. The Eucharist truly is Jesus; body, blood, soul, and divinity, and in the mass we are truly present at his sacrifice. By participating in this, the Church and her people in heaven and earth are in communion, connected with each other in the most special of ways. Fr. Will was my pastor at the Catholic church on campus when I was in college; the type of place where people are always coming and going. He liked to remind us that no matter where we are, we are all connected in the Eucharist. A beautiful thing to think about whether someone we love has moved away, or has left this earth before us. As Fr. Will would say, "See you in the Eucharist!"


Uncle Matt's French Fried Shrimp

2 lbs (or more) large raw shrimp, shelled and de-veined, but leave the tails on. (I bought raw shrimp that were already shelled, de-veined, and had the tails off. No tails means no handy handle for dipping, but you also don't have to be as careful when breading. Of course if you buy raw shrimp with the shells on they will cost less, but then you have to do the dirty work yourself.)
1 cup flour
2 teaspoons salt
1/4 teaspoon pepper
4 eggs, slightly beaten
2 cups dry bread crumbs ( I used panko as that it what I had in the cupboard)
Oil for frying - peanut oil is best ( I used canola since that's what I had)

Stir together the flour, salt, and pepper.
Heat oil to 375 in a deep-fat fryer or kettle.
Coat shrimp with the flour mixture (do not coat the tails), then dip in the beaten eggs, then coat the shrimp with bread crumbs (do not coat the tails).
Fry  in the deep fat fryer or kettle until golden brown (about 2-3 minutes, depending on the size of the shrimp).

Serve with cocktail sauce ( or try what my husband did and serve with buffalo sauce!)


Beverly's Chocolate Layered Pudding Dessert


8 oz Oreo cookies, crushed (I like to put them in plastic bag and crush with a rolling pin, a food processor would work too)
2 Tbsp sugar
1/2 stick melted butter
4 oz softened cream cheese
1/4 cup powdered sugar
8 oz whipped topping
1 small pkg instant chocolate pudding prepared with 1 1/2 cups milk

Reserve 3 cookies for topping.
Combine butter, crushed cookies and sugar. Pat into 9 inch pie pan.
Combine cream cheese, powdered sugar, and half the whipped topping. Mix until smooth. Spread over cookie crumbs.
Pour pudding over the cream cheese layer. Top with remaining whipped topping and reserved crushed cookies. Chill for at least three hours.

This post is linked up on the Catholic Bloggers Network 2014 Link Up Blitz and the Equipping Catholic Families 2014 Saints Linkup! Check it out!


Sunday, November 2, 2014

Halloween 2014: Dalmations, Ladybugs, and Candy Corn

Happy November! The newest addition to our family, Rosemary, arrived on September 29th, so naturally blogging took a back seat last month. Isn't she beautiful?!

 Halloween was couple days ago and we had a lot of fun! We had snow here in Michigan, but thankfully the local mall offers an indoor trick-or-treating experience.

I'm a firm believer in homemade costumes. They are so much fun and inspire creativity in the whole family. The possibilities are endless even if you don't know how to sew, and believe me, I sure don't!

This year Sam wanted to be Marshall from the show Paw Patrol. Marshall is a fire fighting dalmatian pup. Rosemary was a ladybug. Yes I went against everything I just said and she is wearing a store bought costume. Taking care of a brand new baby just didn't leave with the time or energy to work on a homemade infant costume, please forgive me. Here they are together. Pardon the blurriness, now that I have two I'm learning how hard it is to get everyone to stand still for pictures!

Everyone loved Sam's Marshall costume, even if they'd never heard of Paw Patrol. I loved how it turned out too, and it was pretty easy to make! Sam even helped with some of it. 

  • Supplies:
  • White shirt and pants
  • White felt
  • black fabric paint
  • red felt
  • fire hat
  • construction paper
  • ribbon
  • glue
  • scissors
  • two pop bottles
  • red duct tape
  • black and white face paint


Take the white clothes and paint black spots on them with the fabric paint. Cut out ear shapes and paint spots on them as well. Let them dry. Tape the ears to the inside of the fire hat. We got our hat for free at a local restaurant called Firehouse Subs!

My mom sewed the vest out of red felt, but you could buy a firefighter vest at the store.

My husband made the collar out of construction paper, gluing the red background and orange and yellow fire shapes onto some white foam to make it more sturdy. Attach it to a ribbon and that part is all done.

Marshall carries a water pack on his back. My husband and Sam made it by wrapping two pop bottles with red duct tape. They even made the straps with the duct tape as well. 

Paint the face white with black spots and there you have Marshall! Of course it doesn't have to be specifically Marshall, it could just be a fire station dog as well.

________________________

For Sam's preschool treat I handed out candy corn with this cute free printable I found that uses the three colors in one candy corn to help explain the Trinity. Sam will probably be going to public school for kindergarten next year, so I have to get in stuff like this for school when I can!

Of course the day after Halloween is the wonderful feast of All Saints Day! We used some of my past projects to help celebrate, like getting to eat a piece of candy for each match made while playing the Saints Matching Game, and reading our Saints, Saints, Who Do You See? book. We also listened to "When the Saints Go Marching In," and during prayer time remembered to thank God for having the communion of saints there to help us and asked Him to help us, our family and friends, and all other people to become saints. 


Sunday, September 21, 2014

Sarah's Whole Wheat Recession Era Bread

   Oh my, it has been quite a while since I've posted anything! It was a crazy Summer and things aren't slowing down as we get into Fall. We moved into our first house, I got transferred to a new virtual school and have been working very hard getting students settled into the school year, and of course we are preparing for baby number two who is due in less than a week!

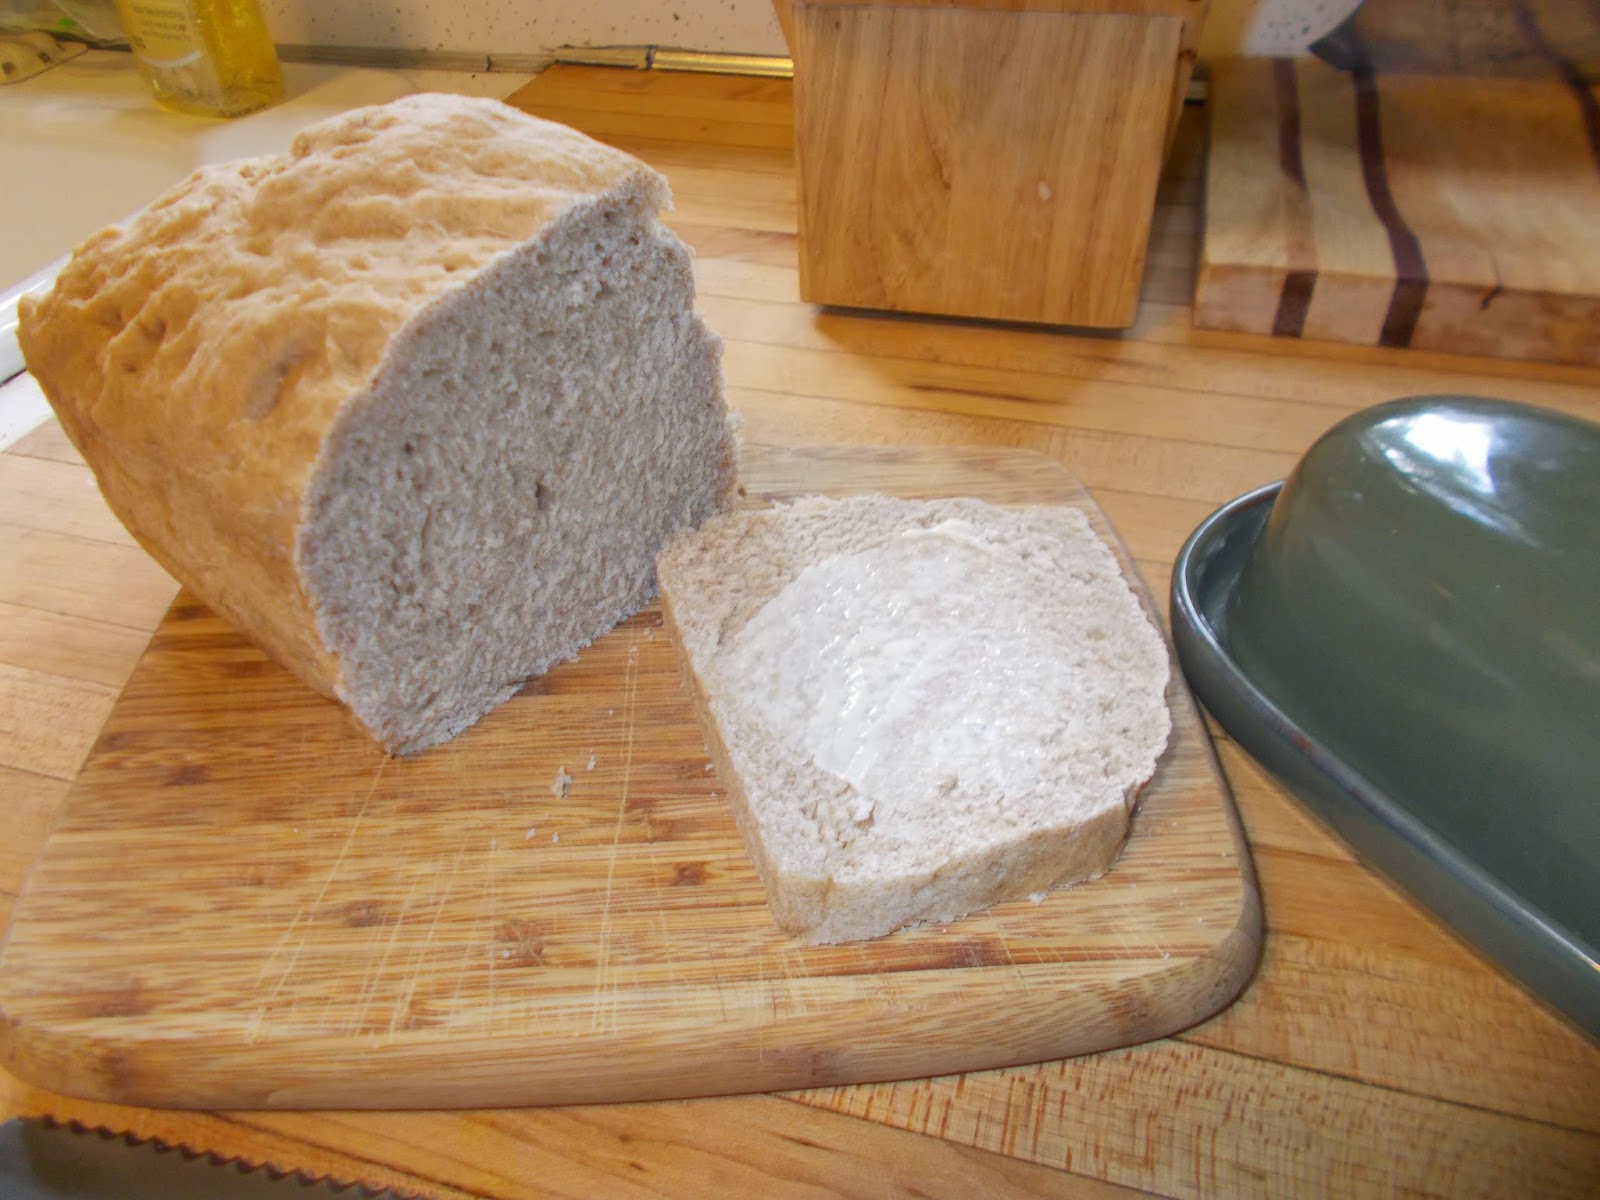
   One of the things my husband and I wanted to start doing once we were in our own place was to regularly bake our own bread. I came across a recipe online for "Depression Era Homemade Bread," and it was just the type of thing I was looking for; simple, plentiful, and cheap! The original recipe is nothing but all purpose flour, salt, yeast, and water. My version is "Recession Era Bread" as I adjusted it to make a whole wheat version and added in a stick of butter. This makes it a little more expensive, but I like the increased health factor of the whole wheat flour, and a little butter makes everything better!

  This recipe makes 6 loaves of bread and of course if you use a whole bag of each kind of flour rather than just half, you can make 12 loaves in one day; though you will need to do it in two separate batches unless you have a VERY big mixing bowl! Bread freezes very well, so just keep one or two loaves out on the counter in a plastic bag and store the rest in the freezer for later. This is a great tip for saving money on store bought bread as well. I remember going on trips to the "day old bread store" with my mom to load up on bread at low prices and sticking most of it in the freezer when we got home. Its so easy I've never understood why grocery stores have a problem with day old bread anyway.

  I've only encountered one big dilemma with this recipe: Homemade bread tastes so much better on its own than store bought, we have tendency to go through it faster! Thankfully our picky four year old loves the bread and the transition from store bought to homemade was pretty painless. In fact when he asks for sandwich he usually asks for, "A peanut butter and honey sandwich on homemade bread please!"


Whole Wheat Recession Era Bread

Ingredients: 
2.5 lbs (1/2 bag) all purpose flour
2.5 lbs (1/2 bag) whole wheat flour
3 pkgs yeast ( 6 3/4 teaspoons)
2 Tbsps salt
1 stick melted butter
6 cups warm water

Directions:
1. Dump flour and salt into a large bowl and mix together. Make a well in the flour and pour the yeast in. Pour the melted butter and warm water into the well and mix the dough.. I like to just dig in and mix it with my hands.

2. Turn the dough out onto a floured surface and knead. Place dough in an oiled bowl and let rise until doubled in size.

3. Punch down dough and divide into 6 greased loaf pans. Bake at 350 degrees for 40-45 minutes.

Enjoy!


Wednesday, June 11, 2014

A Super Cake for Super Dad

Father's Day is this Sunday! I love spending time with my husband and my dad, both amazing fathers! And of course you can't forget to make sure that all the grandpas, great-grandpas, and godfathers feel the love too.

I've got a soft spot in my heart for dads, I think they don't always get the appreciation they deserve. Even as a child I remember asking my parents why they had us make Mothers Day projects at school, but not Fathers Day projects. They answered that Mothers Day falls during the school year, and Fathers Day is in the summer. Logical, sure, but I still thought it was unfair! Let us not forget how important a strong father is in the life of a child!

As an adult and a parent, I can see all the things my dad did (and continues to do) for me and my siblings much more clearly than when I was a child. He made a lot of sacrifices and always puts us kids ahead of himself. Any pain and sorrow we put him through due to our stupid teenage decisions went mostly unseen. He truly wants what is best for us and doesn't seek out anything in return. He also taught us important things like how to tell the perfect elephant joke, how to do a military style crew report before we pull out of the driveway, that milk and eggs are really moo juice and cackleberries, and not to act like nincompoops. And of course nothing can beat his amazing dance moves and rockin' fashion sense. I mean, who else could pull off his neon yellow, multi-color print vacation pants?

While my husband may not have "vacation pants," he is a great father too. I love seeing our 4 year old Sam beg for "daddy dogs" on the swing, go on camp outs with his dad, and tell his dad that he's a cool dude. If you ask Sam what he wants to be when he grows up, he will tell you he wants to be a daddy. Already Sam is living up to being "just like dad." My husband's answer to the question when he was a child was the same!

With all the super dads in my life I thought that this superdad cake design was perfect for Fathers Day last year. All my cake decorating supplies were packed up in boxes at the time, so this cake was made with nothing more than a round cake pan, butter knife, and a zip top bag with the corner cut off as a makeshift piping bag.

For the cake I used a white cake mix and added some frozen berries and bananas to it, but of course just make any flavor that you like! For the frosting I made my simple cream cheese frosting, but I use canned frosting all the time as well.

After I baked the cake, I froze it. This makes any cake carving you may do much easier and keeps crumbs under control when frosting. After the cake was frozen I cut the cake into the pentagon shape for the superdad logo, and let my son use the cake scraps and leftover frosting to make his own creation.

Then I frosted the whole cake in blue. After that I drew the outline for the yellow part with a toothpick and filled it in with yellow frosting. Then I drew the outline for the red part with toothpick and filled it in with red frosting. I alternated red and yellow dots from my makeshift piping bag for the border.

You can find more of my past Fathers Day cakes here.

Thanks to all the Superdads out there who help guide us through life! I hope that you all have a great day on Sunday!

This post is linked up on the Catholic Bloggers Network 2014 Link Up Blitz. Check it out!


Monday, June 9, 2014

Summer Seafood Pasta Salad

School is out and summer is here! While I enjoy the extra time with my family and all the fun summer activities, Summer is not my favorite season weather wise. Yes, it's wonderful to have sunshine and green leaves and all that, especially after the long tough winter we had, but hot temperatures are not my thing. If it never got more than 80 degrees, I would be a happy girl. I've even thought that it would be a great idea to put air conditioning in the schools and have Autumn break instead!

When its hot outside the last thing I want is to be cooking in a hot kitchen, so one thing I love to do is have a big ol' tub 'o pasta salad sitting in the fridge. Not only is pasta salad cool and refreshing on a hot day, but when I make it ahead of time all I have to do is spoon it into a bowl and lunch is ready!

 This recipe using imitation crab (one of my favorite pasta salad additions) is my go-to, and would work for the "5 items or less" game on Guy's Grocery Games.

Summer Seafood Pasta Salad

Ingredients:
1 box penne pasta (or other short pasta like rotini)
1 or 2 pkgs flake style imitation crab
1 pkg cherry tomatoes
Tri-colored bell peppers, chopped
Italian dressing

Directions

1. Cook and drain the pasta. Put in the fridge to cool. If you are in a hurry you can rinse the pasta with cold water, however, that rinses starch off the pasta which keeps the sauce from sticking.
2. Add the imitation crab, tomoatoes, bell peppers and Italian dressing. Mix.
3. Store in fridge and serve as needed. Pasta salad often tastes better the next day after the flavors have had time to mingle. I like to sprinkle on a little Parmesan cheese on top.

Wednesday, May 14, 2014

Our Lady of Fatima Blueberry Lemon Cookies

Yesterday was the feast of Our Lady of Fatima. On May 13th, 1917 she appeard to 3 children in Fatima, Portugal, asking them to pray the rosary for the conversion of sinners. The last day she appeard to them was October 13th, where in front of a crowd of thousands of people, the sun danced in the sky! Learn more about Our Lady of Fatima here.

While scrolling through Pinterest I found a recipe for blueberry lemon cookies, two of my favorite flavors! This feast day was coming up and I thought they would be perfect for the occassion. My local women's bible study group happened to be meeting last night and I brought them to share with the ladies, so it worked out great! Everyone agreed they were quite tasty.

I thought that these cookies were perfect for the occasion because of the colors and flavors. You have the "sunny" yellow lemons reminding you of the miracle of the sun, and the blueberries and white chocolate chips  remind me of Mary, since blue and white are colors that are traditionally associated with her. I'm sure the guys can enjoy them too, but after making them they struck me as a very ladylike cookie, perfect for a tea party or shower.

The orginal recipe can be found here. But I did make a couple slight tweaks.


Blueberry Lemon Cookies with White Chocolate Chips

Ingredients:
1 cup ( 2 sticks) butter, softened
1 cup sugar
2 eggs
1/2 tsp vanilla extract (I wanted to use lemon extract to bump up the lemon flavor even more, but I was out.)
1/2 tsp salt
1/2 tsp baking powder
1/2 tsp baking soda
 3 1/4 cups flour
 1 1/2 cups fresh or frozen blueberries (note: frozen blueberries will turn your dough a lovely magenta color.)
 Zest and juice of 2 lemons
1 cup white chocolate chips.

Directions:
In a bowl beat butter and sugar together until light and fluffy. Add eggs one at a time, beating after each addition. Mix in extract.

In a seperate bowl combine the salt, baking powder, baking soda, and flour. Add into the butter and sugar mixture. Add zest, juice, blueberries and white chocolate chips. Fold them into the dough and refridgerate for at least and hour.

Scoop dough onto a greased cookie sheet and bake for 11-14 minutes at 350 degrees or until the bottoms are slightly golden brown. Move to a cooling rack. Enoy!

This post is linked up on the Catholic Bloggers Network 2014 Link Up Blitz and the Equipping Catholic Families 2014 Saints Linkup! Check it out!

Related Posts Plugin for WordPress, Blogger...